Free pattern
Amigurumi Cat Pattern (Free, Beginner Friendly)
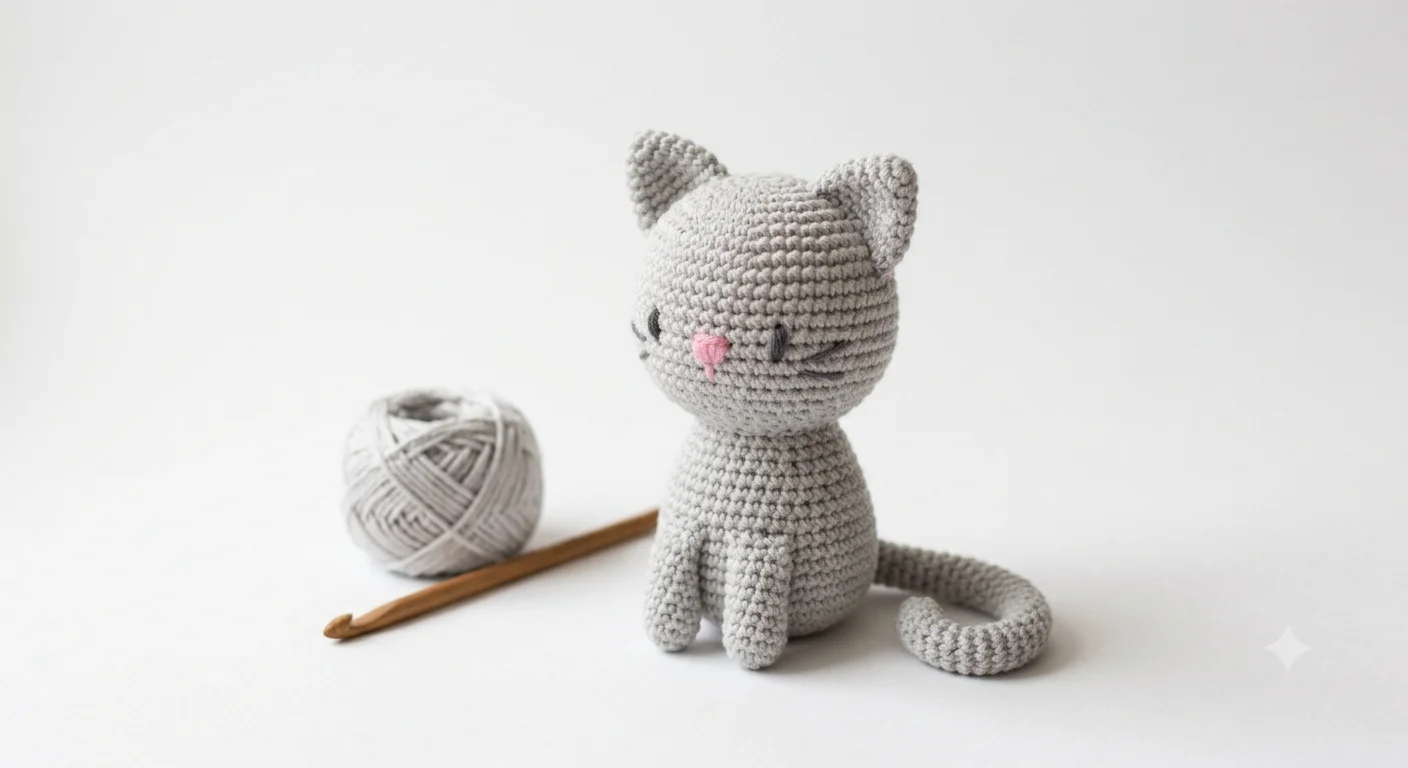
Same construction as the bunny with one change that does all the work: a decrease round at the end of each ear, which is what makes a cat read as a cat.
- Skill level
- Beginner (comfortable with single crochet in the round, increases and decreases)
- Finished size
- About 4 inches tall
- Time
- 1.5 to 2 hours
What you need
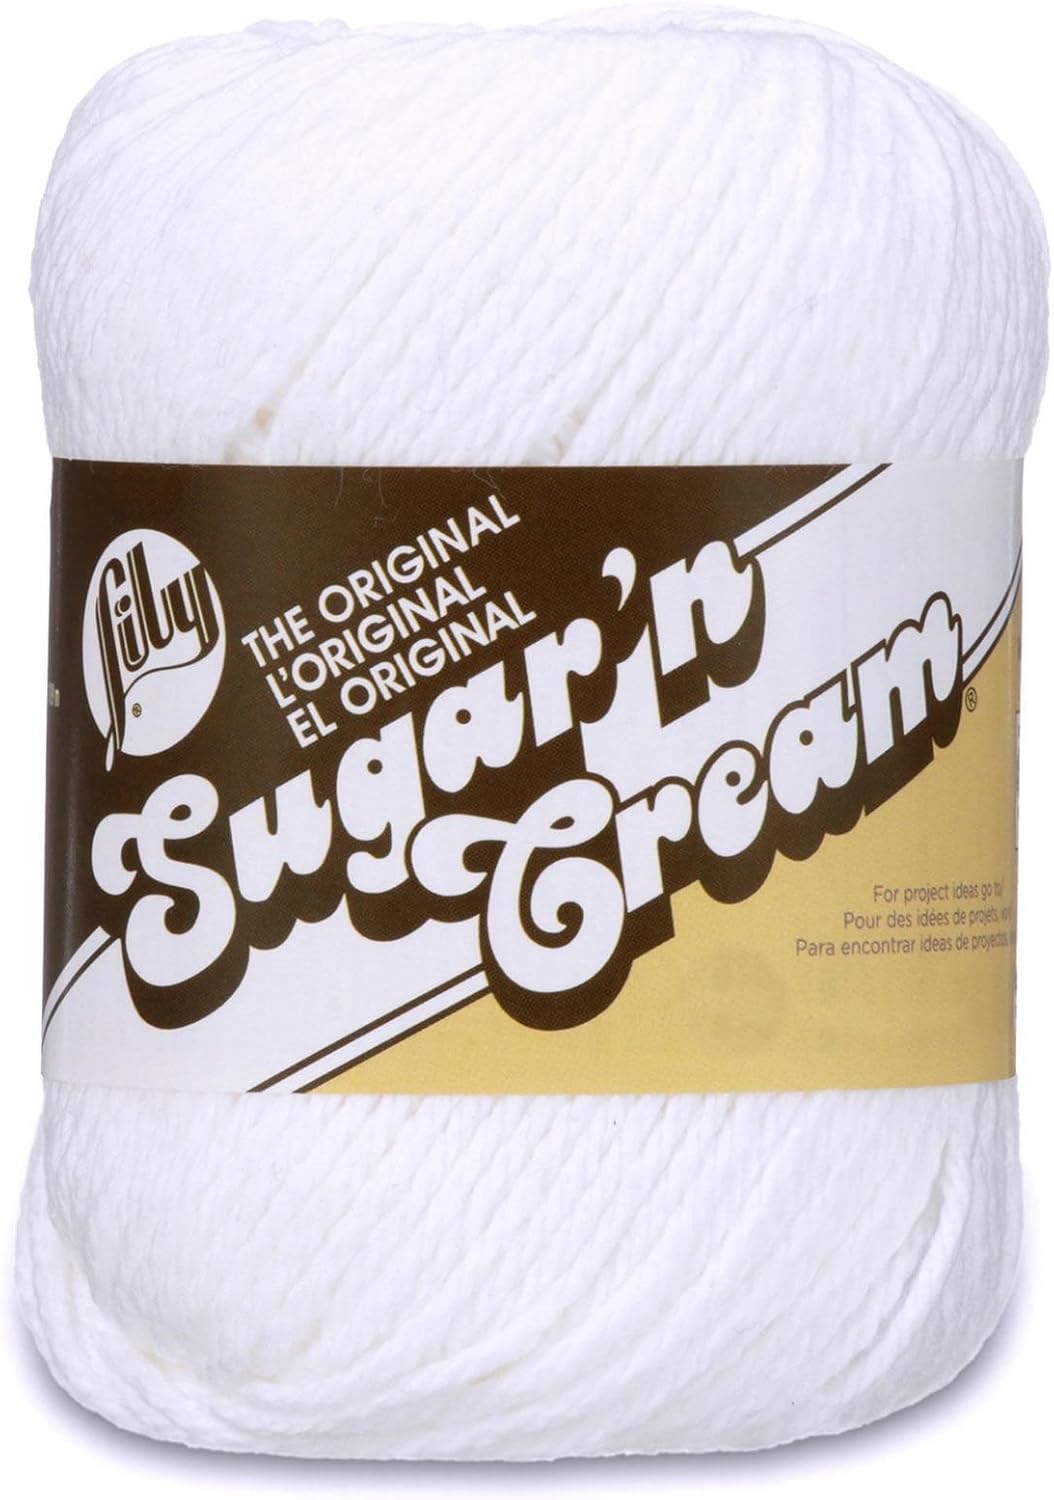
- Worsted weight yarn in your choice of cat color (gray, orange, black, or white are all easy to see stitches in if you're still learning)
- 4mm (G-6) hook
- Polyester fiberfill stuffing
- 2 small safety eyes or black yarn for embroidering eyes
- Small scrap of pink or black yarn for the nose
- Stitch marker
- Yarn needle
- Scissors
Abbreviations
- ch
- chain
- sc
- single crochet
- st(s)
- stitch(es)
- inc
- increase (2 sc in same st)
- dec
- decrease (2 sc worked together as 1)
Get the 4mm hook and yarn for this pattern

Instructions
Body and head (made as one piece)
- Round 1Ch 2, 6 sc in 2nd ch from hook. (6 sc)
- Round 2Inc in each st around. (12 sc)
- Round 3*Sc 1, inc 1* rep around. (18 sc)
- Round 4*Sc 2, inc 1* rep around. (24 sc)
- Rounds 5-9Sc in each st around. (24 sc) Begin stuffing around round 7.
- Round 10*Sc 2, dec 1* rep around. (18 sc)
- Round 11*Sc 1, dec 1* rep around. (12 sc)
- Round 12Dec in each st around. (6 sc)
Ears (make 2, pointed)
- Round 1Ch 2, 4 sc in 2nd ch from hook. (4 sc)
- Round 2Inc in each st around. (8 sc)
- Round 3Sc in each st around. (8 sc)
- Round 4*Sc 2, dec 1* rep around. (6 sc)
Tail (make 1, curled)
- Round 1Ch 2, 5 sc in 2nd ch from hook. (5 sc)
- Rounds 2-8Sc in each st around. (5 sc)
Assembly
- Attach safety eyes (or embroider) between rounds 6 and 7, spaced about 4 to 5 stitches apart.
- Embroider a small triangle or V-shaped nose in pink or black between and slightly below the eyes.
- Sew the pointed ears to the top of the head, angled slightly forward.
- Sew the tail to the back of the body in a gentle curve rather than sewing it flat straight down.
- Weave in all remaining ends.
Finishing
Body: fasten off leaving a long tail, close the hole the same way as the basic ball pattern. Ears: fasten off leaving a long tail for sewing — the decrease round at the end is what gives the pointed cat shape instead of a rounded bunny-ear shape. Tail: fasten off leaving a short tail for sewing; this tail is longer and thinner than the bunny's, which lets it curl naturally when sewn on with a slight curve.
Notes
- Cat ears read as "cat" mostly because of the point, the decrease round at the end of the ear pattern is doing that work. If you want a kitten look instead of an adult cat look, skip round 4 and leave the ears rounded like the bunny's.
- Embroidering the nose and any face details is optional. A cat reads as a cat from the ear shape alone even with no face details at all if you'd rather keep it simple.
What to make next
The same core technique with different ear and tail shaping works for most small animals. Back to all free patterns, or try the amigurumi bunny pattern if you haven't already. For a fully designed character with a matched kit instead of building your own, see best amigurumi kits for beginners.
Get 5 more free beginner patterns
Five more patterns at this level, sent straight to your inbox — no kit or account needed.
No spam. Unsubscribe any time.
Already subscribed? Download the beginner crochet starter guide (PDF)